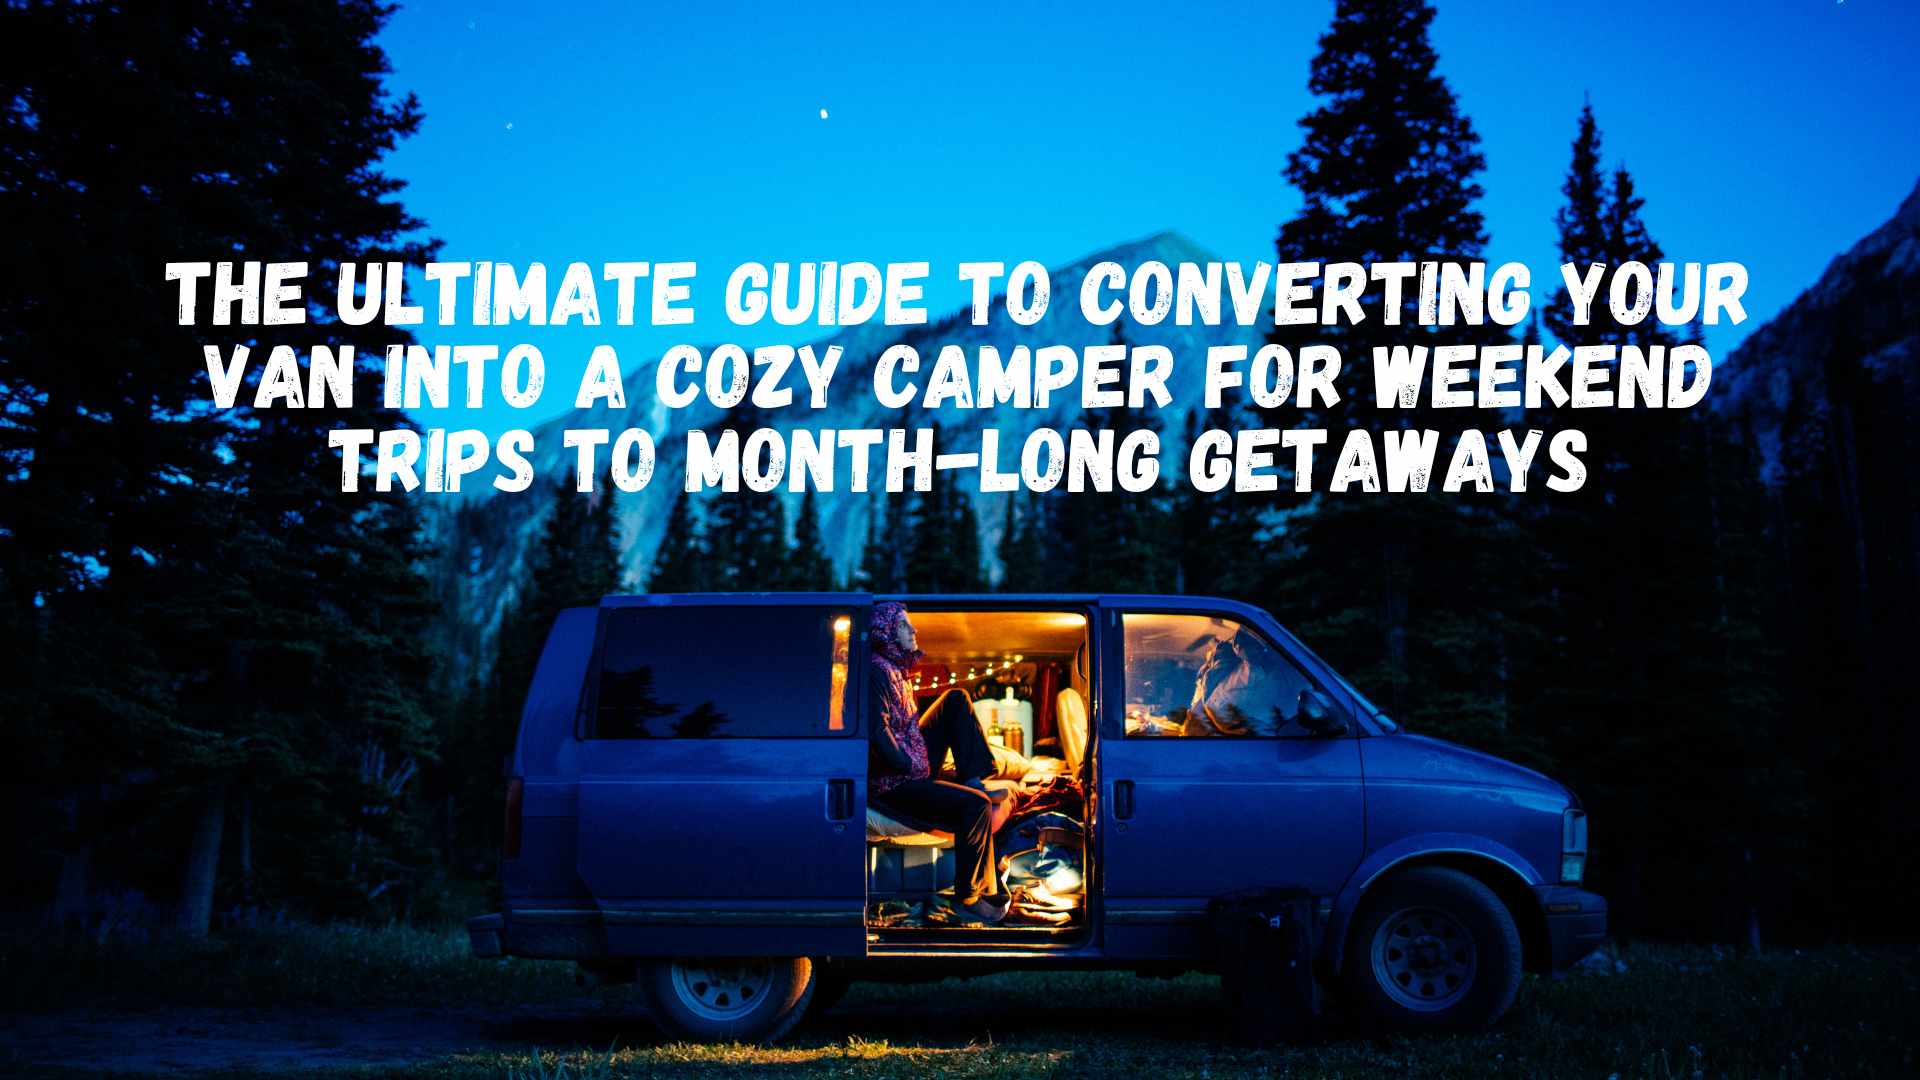
Ever dreamt of leaving your daily grind behind and hitting the open road with your home on wheels? Whether you’re looking for a quick weekend escape or a month-long adventure, converting a van into a camper can provide the freedom and flexibility to explore without the hassle of booking accommodations. This comprehensive guide will take you through every step of the van conversion process, from choosing the right van to hitting the road in your fully-equipped mobile home.
Step 1: Choosing the Right Van
The first and most crucial step is selecting the right van for your needs. Here are some popular options to consider:
- Mercedes Sprinter: Known for its reliability and spacious interior, the Sprinter offers various lengths and roof heights. It’s a favorite among full-time van lifers.
- Ford Transit: With its ample cargo space and multiple roof height options, the Transit is versatile and easier to find in the U.S.
- Ram ProMaster: Featuring a wider interior and front-wheel drive, the ProMaster is excellent for maximizing living space and handling different terrains.
When choosing a van, consider factors such as budget, condition (opt for low mileage), and size. A high-roof van is recommended for those who prefer standing inside.
Step 2: Planning Your Layout
A well-thought-out layout is the foundation of a successful van conversion. Here’s how to get started:
- Measure Your Space: Accurately measure the interior dimensions of your van.
- List Your Needs: Consider what you need in your camper – a bed, kitchenette, storage, seating area, and bathroom.
- Sketch Your Layout: Draw a scaled-down version of your van and experiment with different layouts. Consider ergonomics and accessibility.
- Optimize Space: Use multi-functional furniture (e.g., a bed that converts into a seating area) to maximize space.
Step 3: Insulation and Flooring
Proper insulation ensures comfort in varying weather conditions. Here’s how to do it:
- Insulate the Walls and Ceiling: Use materials like foam board, sheep wool, or Thinsulate. Cut the insulation to fit snugly between the ribs of the van.
- Floor Insulation: Lay a vapor barrier, followed by foam board insulation, and finish with plywood subflooring.
- Install Flooring: Choose durable, easy-to-clean materials like vinyl planks or laminate flooring.
Step 4: Electrical System
A reliable electrical system is essential for powering your lights, appliances, and gadgets. Follow these steps:
- Plan Your Electrical Needs: List all the devices you plan to power and calculate their total energy consumption.
- Solar Panels: Install solar panels on the roof for sustainable energy. Aim for a system that can generate and store enough power for your needs.
- Batteries: Use deep-cycle batteries (AGM or Lithium) to store energy. Consider the capacity based on your consumption.
- Inverter: Install an inverter to convert DC power from batteries to AC power for standard appliances.
- Wiring and Safety: Run wires through protective conduits, install circuit breakers, and include a fuse box for safety.
Step 5: Building the Furniture
Building custom furniture ensures you make the most of your space. Here’s a step-by-step approach:
- Bed Frame: Construct a sturdy bed frame using lightweight plywood. Consider a platform bed with storage underneath.
- Kitchenette: Build a compact kitchenette with a sink, countertop, and storage. Use marine-grade plywood for durability.
- Storage Solutions: Create overhead cabinets, drawers, and under-bed storage. Utilize every nook and cranny.
- Seating Area: Design a convertible seating area that doubles as a workspace or dining area.
Step 6: Plumbing System
For longer trips, having a plumbing system is a convenience you’ll appreciate. Here’s what you need:
- Freshwater Tank: Install a freshwater tank (10-20 gallons) and connect it to a water pump.
- Greywater Tank: Use a greywater tank to collect wastewater from the sink. Ensure it’s easy to empty.
- Sink: Choose a compact sink and connect it to your water system.
- Bathroom Options: Consider a portable toilet or a composting toilet. If space allows, a small shower area can be added.
Step 7: Heating and Cooling
Maintaining a comfortable temperature inside your van is crucial. Here’s how to achieve it:
- Ventilation: Install a roof vent or fan to ensure proper airflow and reduce condensation.
- Heating: Use a portable propane heater, diesel heater, or electric heater for warmth during colder months.
- Cooling: A portable AC unit or a 12V fan can help keep the interior cool in hot weather.
Step 8: Safety and Security
Your van should be safe and secure. Don’t overlook these important aspects:
- Fire Safety: Install a fire extinguisher, smoke detector, and carbon monoxide detector.
- Security: Use robust locks, install a security system, and consider a GPS tracker for added security.
- First Aid Kit: Keep a well-stocked first aid kit accessible at all times.
Step 9: Decorate and Personalize
Now it’s time to make your van feel like home. Add personal touches and decorations to reflect your style:
- Soft Furnishings: Add curtains, cushions, and throws for comfort and coziness.
- Lighting: Use LED strip lights, fairy lights, and reading lamps to create a warm ambiance.
- Decor: Hang artwork, photos, and other decorations that make the space uniquely yours.
Step 10: Final Preparations
Before hitting the road, ensure everything is in order:
- Test Everything: Test all systems (electrical, plumbing, heating) to ensure they’re working properly.
- Pack Essentials: Stock up on food, water, clothing, and camping gear.
- Route Planning: Plan your route, research campgrounds, and have backup plans.
Hitting the Road
Congratulations! Your van is now a fully-equipped camper ready for adventures. Whether you’re embarking on a weekend getaway or a month-long journey, your new mobile home will provide the freedom to explore at your own pace. Enjoy the simplicity, embrace the flexibility, and savor the thrill of life on the road.
Follow Our Adventures
Stay connected with Outdoor Crusade for more tips, adventures, and van life inspiration:


